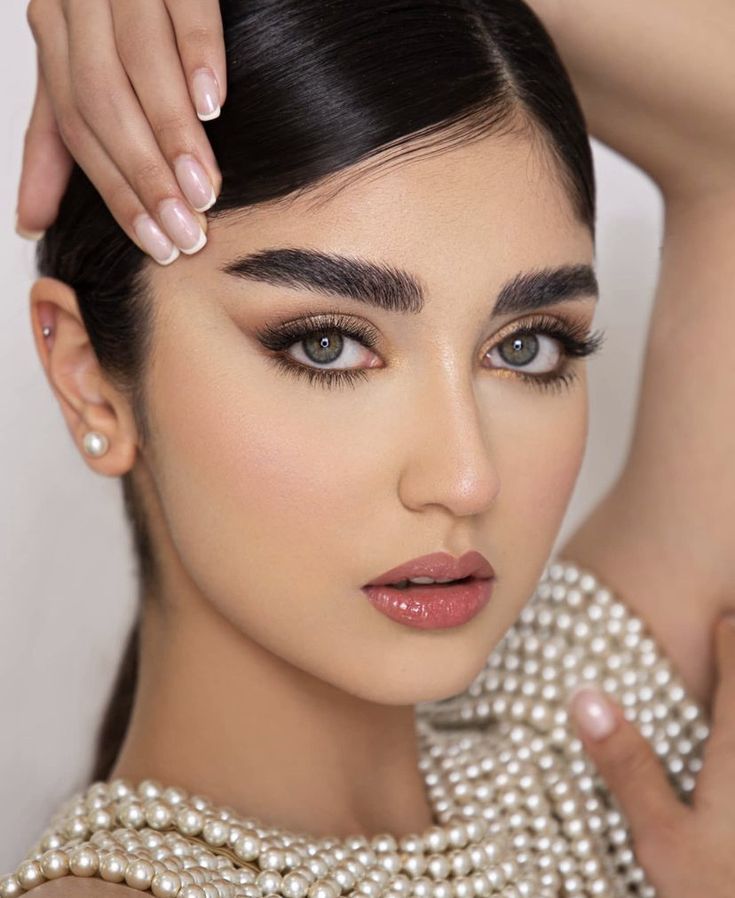
How To Do Eyeshadow Makeup Perfectly
Eyeshadow makeup enhances the eyes and adds depth and dimension. It can be subtle or bold, depending on the look desired.
Eyeshadow makeup is an essential part of a makeup routine. It allows you to express creativity and personality. With various colors and finishes available, from matte to shimmer, you can create countless looks. Whether going for a natural daytime appearance or a dramatic evening look, eyeshadow provides the versatility you need.
Choosing the right shades can complement your eye color and skin tone, making your eyes stand out. Proper application techniques, such as blending and layering, are crucial for achieving a polished finish. Quality eyeshadows ensure longevity and vibrant color payoff, making them a must-have in your beauty arsenal.

Types Of Eyeshadow
Eyeshadow makeup can transform your look from simple to stunning. Understanding the different types of eyeshadow helps you choose the best product for your needs. Whether you prefer the classic powder, creamy textures, or liquid formulations, there’s something for everyone. Let’s explore the main types of eyeshadow available.
Powder Eyeshadow
Powder eyeshadow is a classic choice. It comes in both matte and shimmer finishes. You can find it in individual pans or in palettes. Here are some key benefits:
- Easy to blend: Perfect for creating a seamless look.
- Long-lasting: Stays put for hours with the right primer.
- Wide variety: Available in many colors and finishes.
To apply, use an eyeshadow brush. Tap off excess powder to avoid fallout. Layer colors for depth and dimension.

Cream Eyeshadow
Cream eyeshadow offers a rich and smooth application. It’s great for those who prefer a dewy finish. Here’s why you might love cream eyeshadow:
- Intense color payoff: Delivers vibrant hues.
- Versatile: Doubles as a base for powder eyeshadow.
- Hydrating: Perfect for dry skin.
You can use your fingers or a brush for application. Cream eyeshadow is ideal for quick, single-shade looks.
Liquid Eyeshadow
Liquid eyeshadow is a newer trend. It’s known for its high impact and ease of use. Some reasons to try liquid eyeshadow include:
- Quick application: Fast and efficient for busy mornings.
- Bold finishes: Often features metallic and glitter options.
- Long-wearing: Usually lasts all day without creasing.
Liquid eyeshadow typically comes with a wand applicator. Swipe it on and blend with your finger or a brush.

How To Choose The Right Shade For Eye Makeup
Choosing the right eyeshadow shade can transform your look. Eyeshadow makeup is an art that enhances your natural beauty. Knowing the right shade to use based on your skin tone and eye color is essential. This guide will help you make the best choices.
Skin Tone Considerations
Your skin tone plays a crucial role in selecting the perfect eyeshadow. Different shades complement different skin tones. Here are some tips:
- Fair Skin: Soft pastel shades like pink, peach, and light beige work well. Avoid very dark colors as they can look harsh.
- Medium Skin: Warm tones like gold, bronze, and copper highlight your natural warmth. Shades of brown and taupe are also great choices.
- Olive Skin: Rich shades like plum, burgundy, and emerald green enhance your complexion. Shimmery neutrals also look stunning.
- Dark Skin: Bold and vibrant colors like royal blue, deep purple, and metallic shades make your eyes pop. Don’t shy away from bright hues.
Eye Color Match
Your eye color is another key factor in choosing the right eyeshadow. The right shade can make your eyes stand out beautifully:
- Blue Eyes: Shades of copper, bronze, and warm browns enhance blue eyes. Avoid blue eyeshadow as it can clash.
- Green Eyes: Purple shades like lavender, violet, and plum make green eyes pop. Warm earthy tones also work well.
- Brown Eyes: Almost any color works with brown eyes. Deep greens, blues, and golds are especially flattering.
- Hazel Eyes: Hazel eyes look great with earthy tones like olive, gold, and brown. Purple shades also enhance the green in hazel eyes.
Tools For Application
Eyeshadow makeup can transform your look from simple to stunning. The right makeup brushes make a huge difference in application. This section will guide you through the essential tools for applying eyeshadow, helping you achieve a flawless finish.

Brushes
Brushes are essential for detailed and precise eyeshadow application. They come in various shapes and sizes, each serving a specific purpose. Here are some common types of eyeshadow brushes and their uses:
- Flat Shader Brush: Perfect for packing color onto the lid.
- Blending Brush: Ideal for blending colors seamlessly.
- Crease Brush: Best for adding depth to the crease.
- Angled Brush: Great for creating a winged eyeshadow look.
Using the right brush ensures that your eyeshadow is well-blended and looks professional. Investing in high-quality brushes can make a significant difference. Clean your brushes regularly to maintain their effectiveness and hygiene.
Fingers
Applying eyeshadow with fingers can be quick and effective. The warmth from your fingers helps blend the product smoothly. Here’s why using fingers can be beneficial:
- Control: You have more control over the pressure and placement of the eyeshadow.
- Blending: Fingers can blend the edges seamlessly.
- Convenience: No need for extra tools, making it perfect for on-the-go application.
Using fingers works well with creamy or shimmery eyeshadows. The heat from your fingertips can help these products melt into the skin better. Ensure your hands are clean to avoid transferring bacteria to your eyes. Steps to apply eyeshadow with fingers:
- Pick up product with your fingertip.
- Pat onto the eyelid for color intensity.
- Blend the edges using circular motions.
Remember, fingers are great for a natural, effortless look.
Read More: 7 Time Saving Contouring Tips| Get Perfect Look|
Applicators
Applicators are often included with eyeshadow palettes. These tools are handy and easy to use. Types of applicators:
- Sponge-tip applicators: Good for packing on color.
- Silicone applicators: Great for glittery eyeshadows.
Benefits of using applicators:
- Precision: Applicators can place color exactly where you want it.
- Ease of use: Simple and straightforward, perfect for beginners.
- Portability: Small and easy to carry in your makeup bag.
To use an applicator effectively, follow these steps:
- Pick up eyeshadow with the applicator.
- Apply to the eyelid with a patting motion.
- Blend the edges using a clean side of the applicator.
Applicators are particularly useful for detailed work and touch-ups.

Eyeshadow Applying Techniques
Eyeshadow makeup can transform your look. Mastering the right eyeshadow techniques is key to achieving stunning results. From subtle daytime looks to bold nighttime glam, eyeshadow techniques allow you to express your creativity. Let’s explore some popular techniques to elevate your eyeshadow game.
Blending
Blending is the cornerstone of flawless eyeshadow application. It ensures a seamless transition between colors. Follow these steps to perfect your blending technique:
- Choose the Right Brushes: Use a fluffy blending brush for smooth transitions.
- Apply a Base Color: Start with a neutral shade over your eyelid.
- Layer Gradually: Add darker shades in small amounts.
- Blend in Circular Motions: This avoids harsh lines.
Blending creates depth and dimension. Keep practicing for a smooth, professional finish.

Cut Crease
The cut crease technique creates a defined, dramatic look. This technique makes your eyes appear larger. Follow these steps to achieve a perfect cut crease:
- Prime Your Lids: Use an eyeshadow primer for longevity.
- Define the Crease: Use a dark shade to outline your crease.
- Cut the Crease: Apply concealer on your lid up to the crease line.
- Set with Eyeshadow: Use a light or shimmery shade on the concealed area.
- Blend the Edges: Smooth the transitions between colors.
Here’s a quick checklist for a cut crease:
- Prime your lids
- Define the crease
- Cut the crease with concealer
- Set with a light eyeshadow
- Blend edges smoothly
The cut crease is perfect for special occasions. It highlights your eyes with precision and elegance.
Smoky Eye
A smoky eye is a timeless, sultry look. It suits evening events and creates a dramatic effect. Follow these steps for a flawless smoky eye:
- Apply a Base: Use a neutral shade over the entire lid.
- Use Dark Shades: Apply dark eyeshadow along the lash line and outer corners.
- Blend Upwards: Blend the dark shade upwards for a gradient effect.
- Highlight the Brow Bone: Use a light shade under the brow bone.
- Line Your Eyes: Use eyeliner for added depth.
Essential tips for a smoky eye:
- Start with a neutral base
- Use dark shades at the lash line
- Blend upwards for a gradient
- Highlight the brow bone
- Line your eyes for depth
The smoky eye technique adds drama and allure. Practice makes perfect, so keep experimenting with different shades and styles.

Layering And Mixing
Eyeshadow makeup is an art that lets you express your style and creativity. One of the most fun and creative ways to enhance your eyeshadow look is through layering and mixing. These techniques allow you to create unique and vibrant eye looks that can suit any occasion. Whether you’re going for a subtle daytime look or a dramatic evening effect, mastering layering and mixing can take your eyeshadow game to the next level.
Building Intensity
Building intensity with eyeshadow involves adding layers of color to achieve a deeper, more vibrant look. This technique helps in creating depth and making the eyes pop. Here are some steps to help you build intensity:
- Start with a primer: Apply an eyeshadow primer to ensure the colors adhere well and last longer.
- Base color: Apply a neutral base color all over the eyelid to set the stage for other colors.
- Layer gradually: Begin with a light shade and gradually add darker shades. Blend each layer well to avoid harsh lines.
- Use different brushes: Use a flat brush for applying the base color and a blending brush for adding intensity.
Following these steps will help you achieve a rich, layered eyeshadow look that stands out. Blending is key to making each layer seamless and beautiful.
Combining Shades
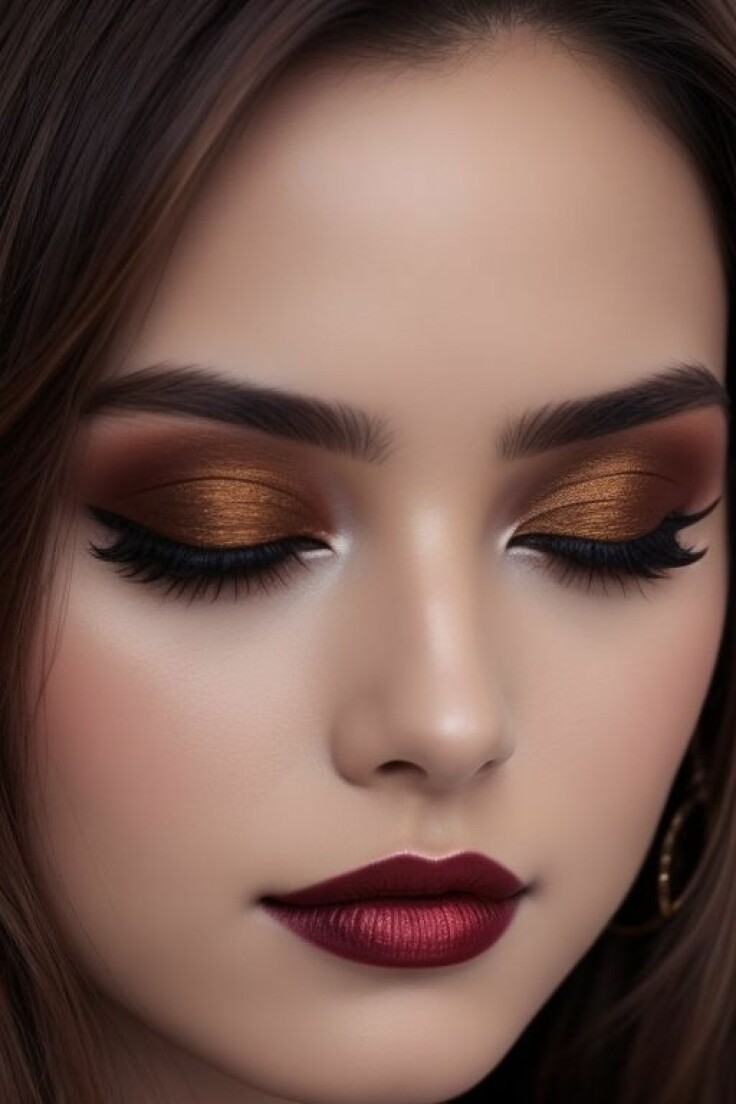
Combining shades is all about creativity and understanding which colors complement each other. Mixing different hues can create a dynamic and eye-catching look. Here are some tips to master combining shades:
- Choose a color palette: Select shades that belong to the same color family or contrast beautifully.
- Highlight and contour: Use lighter shades to highlight the inner corners and brow bone. Darker shades can contour the crease and outer corners.
- Blend for harmony: Use a blending brush to merge the colors smoothly. This prevents any harsh transitions.
- Experiment with textures: Combine matte, shimmer, and metallic finishes for added dimension.
Here is a simple guide to combining shades effectively:
| Shade | Placement | Effect |
|---|---|---|
| Champagne Shimmer | Inner Corner | Brightens |
| Rose Gold | Lid | Adds Warmth |
| Plum | Crease | Depth |
Combining shades allows for endless possibilities in eyeshadow looks. By understanding which colors work well together, you can create stunning and harmonious eye makeup.
How To Set Your Eyeshadow Perfectly
Eyeshadow makeup can transform your look, making your eyes pop with vibrant colors. But to keep your eyeshadow in place all day, setting it is crucial. Proper setting techniques ensure your eye makeup remains flawless, without creasing or fading. Below are essential steps and products for setting your eyeshadow.
Eyeshadow Primer
Using an eyeshadow primer is the first step to long-lasting eyeshadow. Primers create a smooth base, helping the eyeshadow adhere better and last longer. Here’s why primers are essential:
- Creates a smooth canvas: Primers fill in fine lines and imperfections.
- Enhances color payoff: Eyeshadow appears more vibrant on a primed lid.
- Prevents creasing: Keeps your eyeshadow from settling into lines.
To apply primer:
- Squeeze a small amount onto your fingertip.
- Gently pat it across your eyelid.
- Let it dry before applying eyeshadow.
Remember, a little goes a long way. Using too much can make your eyeshadow look cakey. Primers are a game-changer for vibrant and lasting eye makeup.
Setting Spray
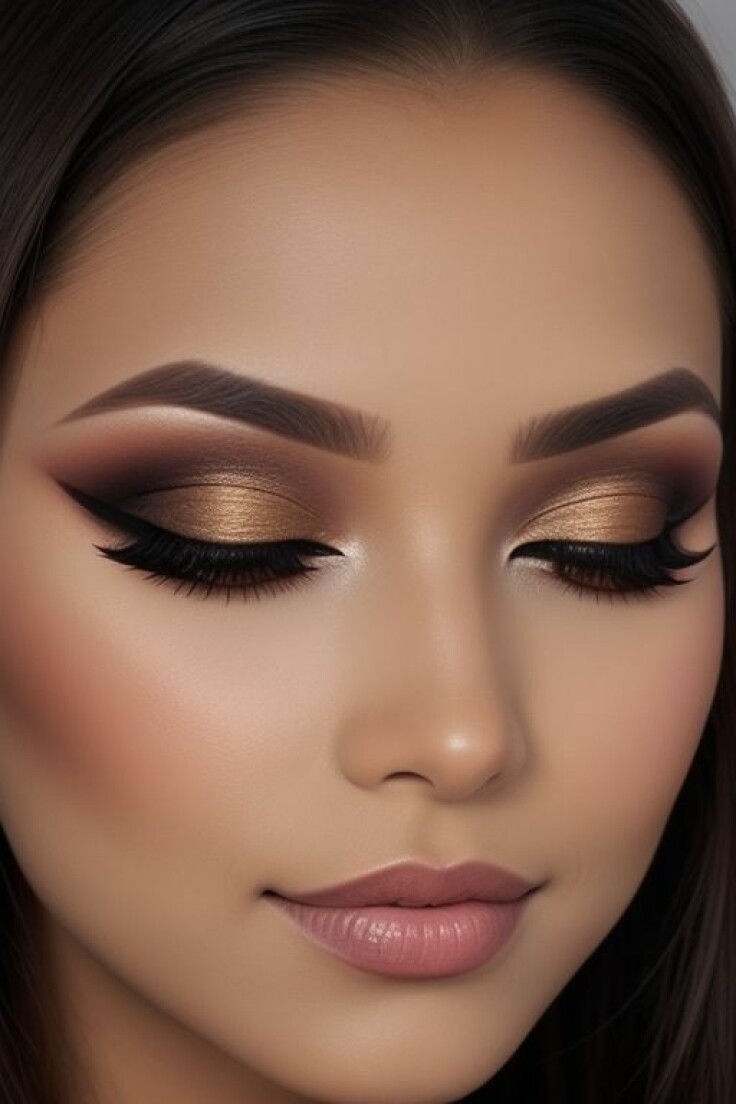
Once your eyeshadow is applied, using a setting spray locks everything in place. Setting sprays keep your makeup looking fresh for hours. They prevent smudging and fading. Here’s why setting sprays are vital:
- Locks in makeup: Ensures your eyeshadow stays put.
- Prevents smudging: Keeps makeup from transferring.
- Hydrates skin: Many sprays have hydrating ingredients.
To use setting spray:
- Hold the bottle about 8 inches from your face.
- Close your eyes and mouth.
- Mist your face in an “X” and “T” motion.
Setting sprays create a protective barrier, ensuring your eyeshadow remains impeccable. They offer a final touch to your makeup routine, making sure everything stays in place throughout the day.
Common Mistakes
Eyeshadow makeup can elevate your look, but it’s easy to make mistakes. Knowing the common pitfalls helps you avoid them and achieve a flawless finish. Here are some common mistakes people make when using eyeshadow.
Overapplication
Applying too much eyeshadow can make your eyes look heavy and uneven. Start with a small amount and build up the color slowly. Using too much product can also lead to fallout on your cheeks.
Common signs of overapplication:
- Eyeshadow looks cakey
- Colors blend into a muddy mess
- Eyes feel heavy
Tips to avoid overapplication:
- Use a light hand when applying
- Tap off excess product from your brush
- Blend well between layers
Less is more with eyeshadow. Starting light allows you to control the intensity. Blending is essential to avoid harsh lines and ensure a seamless look.
Wrong Color Choices
Choosing the wrong colors can make your eyeshadow clash with your skin tone or eye color. Understanding your undertones helps in selecting the right shades.
Common color mistakes:
- Using cool tones on warm skin
- Choosing shades that match your eye color exactly
- Using too many bright colors at once
Tips to choose the right colors:
- Identify your skin’s undertone (cool, warm, neutral)
- Use complementary colors for your eye color
- Stick to one bold color and use neutral shades to balance it
Color theory can guide you in making better choices. Neutral shades are versatile and suit most skin tones. Experimenting with different colors helps you find what works best for you.
Eyeshadow Removing Techniques
Eyeshadow makeup can transform your look and highlight your eyes. However, removing eyeshadow at the end of the day is crucial to maintain healthy skin. Knowing how to remove eyeshadow correctly helps prevent irritation and keeps your skin fresh and clean.
Makeup Remover Options
Several makeup remover options are available to gently remove eyeshadow. Each has its benefits and works differently:
- Micellar Water: A gentle, water-based cleanser that removes makeup without harsh rubbing. Suitable for all skin types.
- Oil-Based Removers: Effective for waterproof eyeshadows. Oils break down makeup easily and nourish your skin.
- Makeup Wipes: Convenient and portable. Choose alcohol-free wipes to avoid drying out your skin.
- Cleansing Balms: Thick, rich balms that melt away makeup. Ideal for dry and sensitive skin.
- Eye Makeup Remover Pads: Pre-soaked pads that are easy to use. Look for pads with soothing ingredients like aloe vera.
Gentle Techniques
Removing eyeshadow should be done gently to avoid damaging the delicate skin around your eyes. Follow these simple techniques:
- Soak a cotton pad: Dampen a cotton pad with your chosen makeup remover. Avoid soaking it too much to prevent dripping.
- Press and hold: Gently press the cotton pad onto your closed eyelid. Hold for a few seconds to let the remover break down the makeup.
- Wipe away: Softly wipe the pad across your eyelid. Use a sweeping motion from inner to outer corner.
- Repeat if necessary: If any makeup remains, repeat the process. Be gentle to avoid irritation.
- Rinse and moisturize: After removing the makeup, rinse your face with lukewarm water. Apply a gentle moisturizer to keep your skin hydrated.
Using these techniques ensures your skin stays healthy and free from makeup residue. Make it a part of your nightly routine for the best results.

Frequently Asked Questions
What Is The Best Way To Apply Eyeshadow?
The best way to apply eyeshadow is by using a primer first. This ensures longevity. Start with a base shade, then blend darker shades into the crease. Use a light shimmer on the brow bone for highlight.
How Do I Choose Eyeshadow Colors?
Choose eyeshadow colors based on your eye color and skin tone. Neutral shades work for everyone. For a more dramatic look, contrast your eyeshadow with your eye color.
How Can I Make Eyeshadow Last Longer?
To make eyeshadow last longer, use a primer before application. Set it with a translucent powder. Avoid touching your eyes throughout the day.
What Tools Are Needed For Eyeshadow Application?
Essential tools include eyeshadow brushes, a blending brush, and a flat shader brush. A good primer and a setting spray also help.
Conclusion
Mastering eyeshadow makeup can elevate your look effortlessly. Experiment with colors and techniques to find your unique style. Always blend well for a seamless finish. Remember, practice makes perfect. Stay creative and confident, and let your eyes shine with every application.
Happy blending!


